Aqib Memon
Emails Marketing in 1 Minute with Google Sheets x ChatGPT
- April 12, 2023
- , 3:07 pm
- , Shopify Tips
In today’s digital age, personalized emails have become a powerful marketing tool to engage customers and boost conversions. However, creating personalized emails for each customer can be a daunting task, especially for businesses with a large customer base. This is where automation comes in.
In this article, we’ll show you how to automate personalized emails using Google Sheets and a free tool called ChatGPT. With our step-by-step guide and best practices, you can create and send personalized emails to thousands of customers in just a few minutes.
Introduction
Personalized emails can help businesses build better relationships with customers and increase sales. According to a study by Experian, personalized emails have 29% higher open rates and 41% higher click-through rates than generic emails.
However, creating personalized emails manually can be time-consuming and tedious. This is where automation can save the day. By using Google Sheets and ChatGPT, you can automate the process of creating personalized emails, saving you time and effort.
Step-by-Step Guide
Here’s a step-by-step guide to automating personalized emails with Google Sheets and ChatGPT:
Step 1: Set Up Your Google Sheet
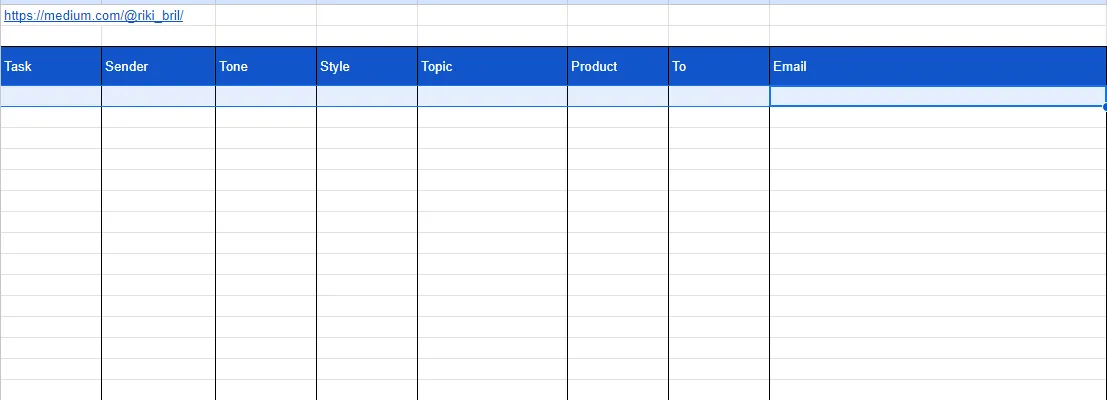
The first step is to create a Google Sheet that will contain the data for your personalized emails. You’ll need to create columns for the recipient’s name, email address, and any other relevant information you want to include in your emails.

Step 2: Install and Set Up ChatGPT
Next, you’ll need to install and set up ChatGPT, which is a free tool that uses artificial intelligence to generate personalized text. Once installed, you’ll need to connect ChatGPT to your Google Sheets account.
Step 3: Create Your Email Template
Now it’s time to create your email template. You can use any email marketing tool you prefer, but for this example, we’ll use Gmail. Start by creating a new email and writing the body of the email, leaving placeholders for the personalized text.
Step 4: Generate Personalized Text with ChatGPT
Once you’ve set up your Google Sheet and email template, it’s time to generate personalized text using ChatGPT. Simply select the cells containing the recipient’s information in your Google Sheet, and ChatGPT will automatically generate personalized text for each recipient.

Step 5: Insert Personalized Text into Your Email Template
Finally, it’s time to insert the personalized text into your email template. Copy and paste the personalized text from ChatGPT into the placeholders in your email template, and you’re ready to send your personalized emails!

Best Practices
Here are some best practices to keep in mind when automating personalized emails:
- Keep your emails simple and concise, with a clear call to action.
- Use personalization sparingly to avoid coming across as spammy.
- Test your emails to make sure they look good on all devices.
- Monitor your email metrics to track the success of your campaigns and make adjustments as needed.
Conclusion
Automating personalized emails with Google Sheets and ChatGPT can save you time and effort while helping you build better relationships with your customers. By following our step-by-step guide and best practices, you can create and send personalized emails to thousands of customers in just a few minutes. Try it out today and see the results for yourself!
Ready to transform and grow your shopify brand?
See why companies like Lash Artisan, Lust For Lashes, joemetry.co and more
launched their shopify Brand With ShopifyThrive.
